With all parts stripped and cleaned, it is now time to build the vehicle up again. First we were dealing with the body.

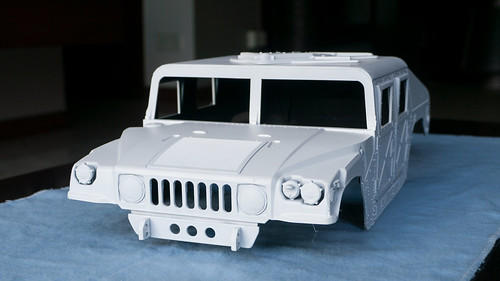
Our Hummer body was in a good condition given its use and age, but on the front there was the tow plate missing.
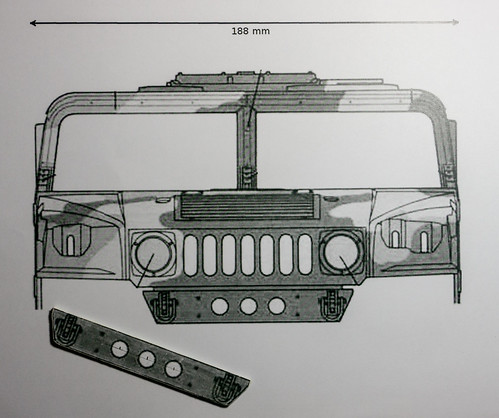
To create a replacement we extracted the front view of the vehicle from the user manual and scaled it to exact size of the body on the computer before printing. I then cut it out from paper and glued it on a piece of styrene as cutting reference.
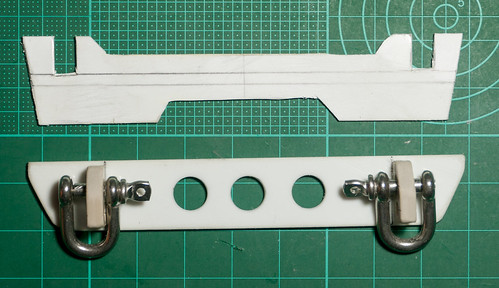
A support plate was cut from 1mm styrene that holds the tow plate to the body. Since this piece will not be seen it was cut rather quick and dirty.
The shackle mounts are from a scrap piece of plastic that had holes already drilled into it. The shackles are 3 mm D-shackles from a local hardware store.
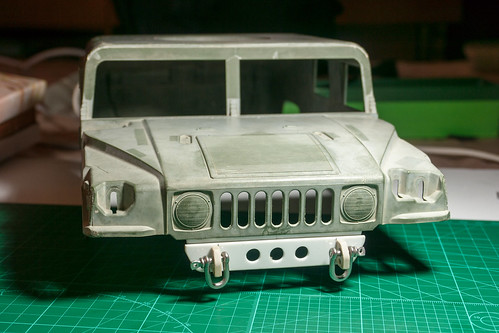
The finished tow plate mounted onto the body. Looks close to original.
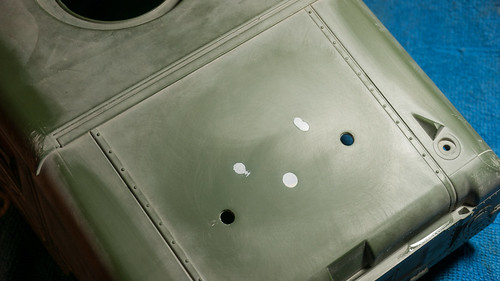
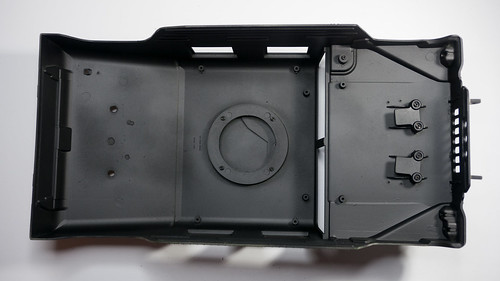
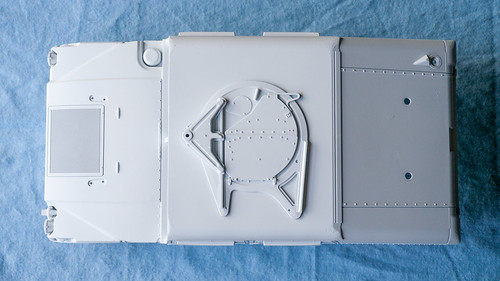
The back of the car had three holes that needed filling. It was quite tricky to do to get a decent finish.
We managed to obtain a new sprue of body parts on eBay which included all front lights, the top hatch as well as the air intake. We only used the front lights which were quite damaged on our body.

Ready to paint. With all accessories in place the first job was to spray the inside with flat black.
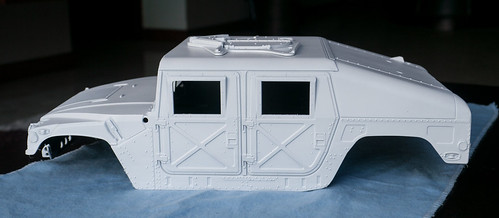
The body has been primed and painted with Tamiya Matt White TS-27.
The paint turned out ok but far from perfect as I rushed too much. Now it is a matter of highlighting all those awesome body details.
Despite spending a large amount of time to close three holes on the back of the body, they are still visible.
I think that the Tamiya Basic Putty that I used is just not the right thing for the job as it affects the styrene. Or more likely: I am just doing it wrong.
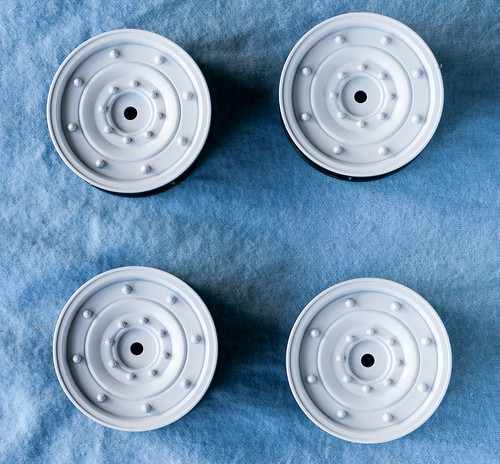
The rims were brand new and turned out flawlessly.
Up next: rebuilding the chassis!
All articles in this series:
Our Tamiya M1025 Hummer
Part 1 - Dismantling and cleaning
Part 2 - Body work
Part 3 - Chassis
Part 4 - Detailing
No comments:
Post a Comment