The LANE Boys recently acquired a 3D printer. Beside printing spare parts and accessories, why not print a body shell?
A few years ago we were amused by the motorized furniture creations of Edd China. So we decided to build this:
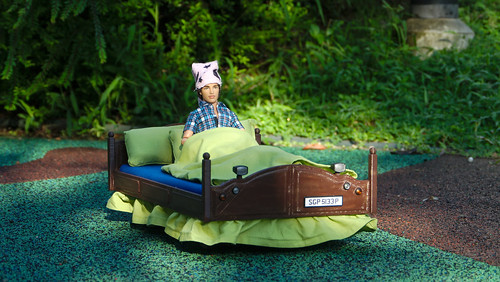
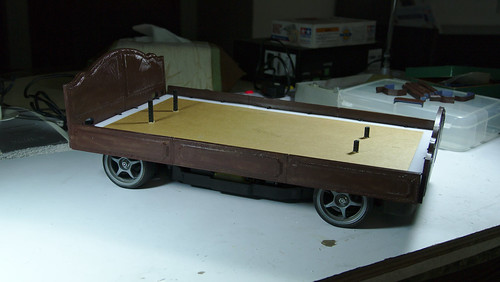
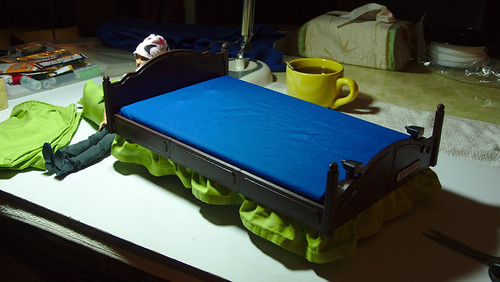
The motorized bed was chosen as it is a simple structure, and has the right shape to fit a standard RC chassis. We made ours to fit a Tamiya TT02.
We designed the model using OpenSCAD, an Open Source software for creating solid 3D CAD objects. All elements were modeled with 3D printing in mind from the go, especially considering that our printer has a small print volume of 15 cm cubed.

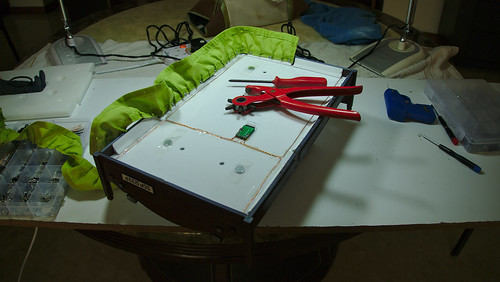
The bed is constructed around a 2 mm thick plate of acrylic from the local hobby shop. The plate was cut to measure 390 x 230 mm. The dimensions were chosen to fit the TT02 chassis, ensuring enough clearance for suspension travel and steering of the wheels. The rest of the bed parts were all 3D printed in HIPS.
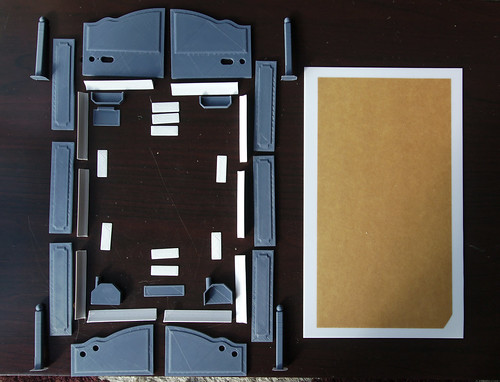
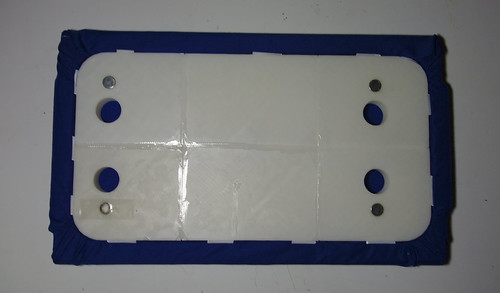
Since all sides of the bed are larger than the print area of our printer, they had to be printed in sections and glued together. To achieve good strength we added slots into the parts and printed tabs.
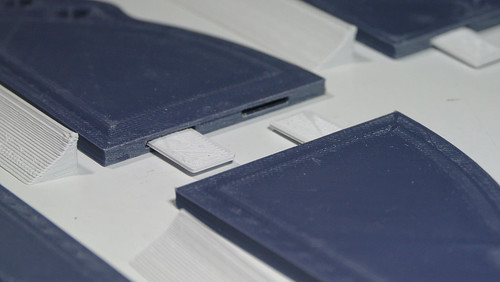
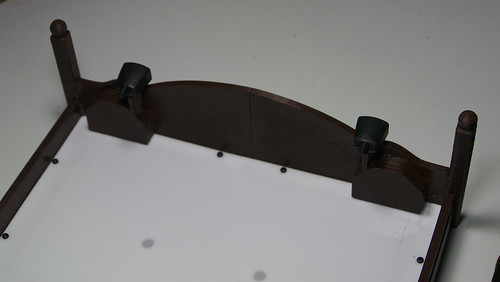
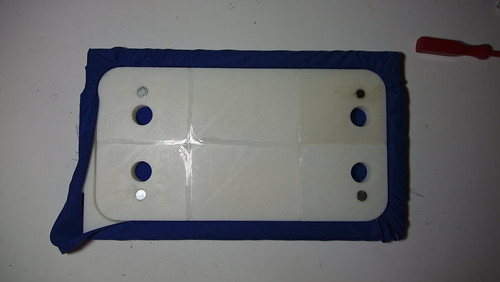
We then used Tamiya cement to glue the parts together. The white parts are the mounting pieces that connects the side walls to the bed plate.
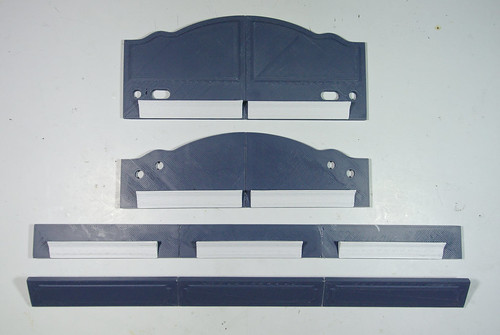
The bed sides where then painted to give them a bit of a wooden look and fastened to the acrylic bed plate with 2 mm self tapping screws.
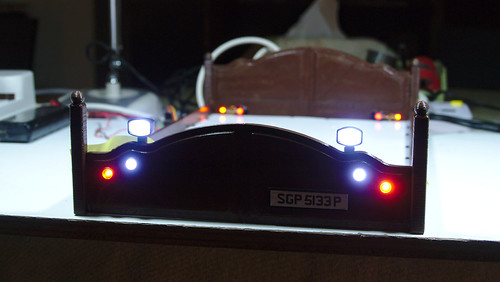
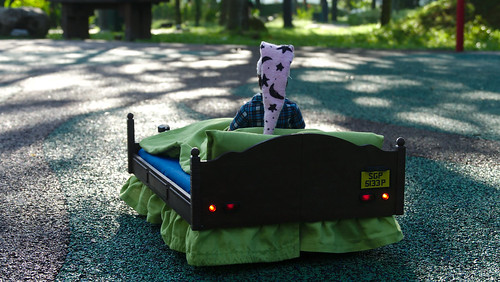
In order to be road legal, our bed-mobile needed to have a license plate and lights. We used spare light fittings from a Axial light kit we had at home. To conceal the back of the light fixtures, LEDs and wiring, we printed covers. The covers for the front lights also received a pole to mount the head lamps on.
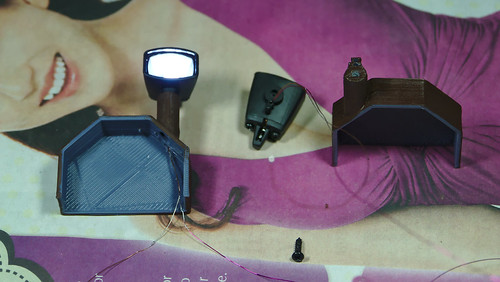
This pole had a tiny hole running through it so that we could run wires, and a recess for the M2 mounting screw of the head lamp.
All this would be tricky to do with scratch building, but was extremely easy to do with 3D modelling.

As always, we were using enamel-coated wire to supply power to the LEDs.
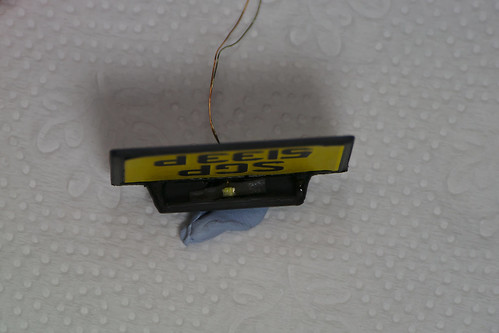
The license plate housing with integrated light was printed in high quality as the wall thickness is only 0.5 mm in some areas. A tiny SMD LED is used to provide illumination.
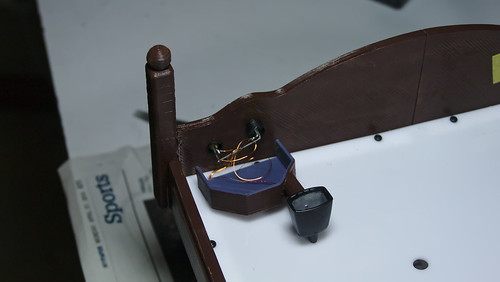
The wires for the LED are concealed in a tube that was modeled into the right rear end piece of the bed. It was a bit fiddly to get the wires through, but with a bit of persistence it worked.
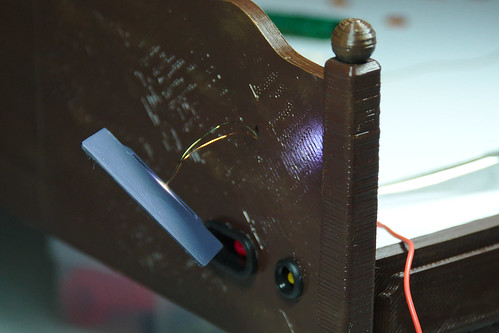
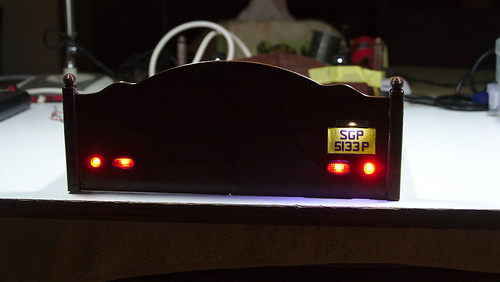
On the inside the wires exit between the indicator and tail/brake light.
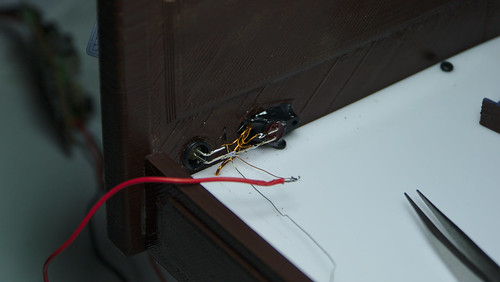
On the outside the wire exits right behind the light fixture of the license plate.
The license plate was secured with a drop of Shoe Goo. A point of improvement is to make the light housing slightly thicker, and/or paint the inside black, because currently the LED is so bright that it shines through the plastic. Looks great anyway!

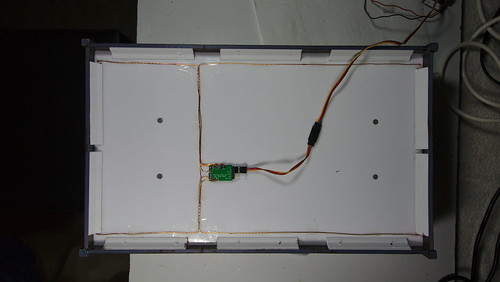
The light controller was mounted on the bottom of the bed plate, close to where the receiver sits on the chassis.
This way the cable to the receiver can be very short. Wiring the LEDs was extremely easy.
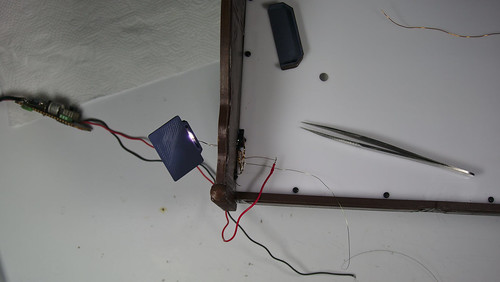
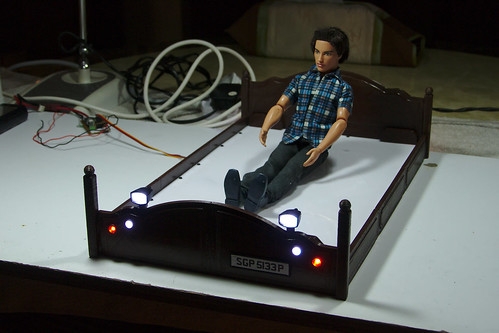
Time to test the lights: all working!
We could now secure the light covers front and rear with a drop of Shoe Goo.
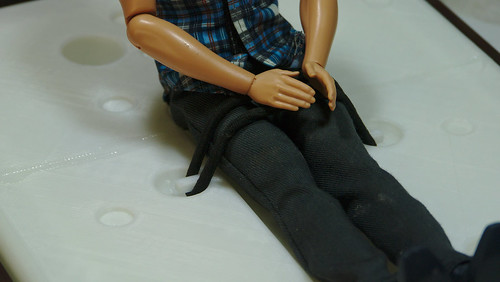
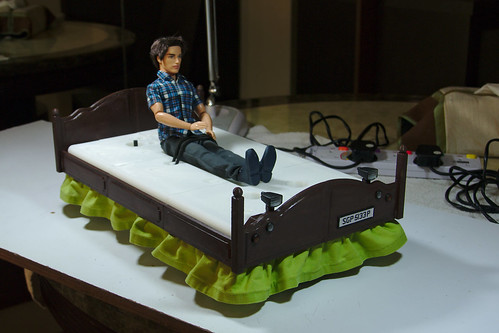
The bed frame was now finished, so it was time to make it usable for its purpose. We had a male doll that we bought originally for our G-Made Sawback but was too large. It was a perfect scale for the bed however.
Out came the sewing machine we bought during our XR311 build. An old bed sheet was sacrificed as source of material.
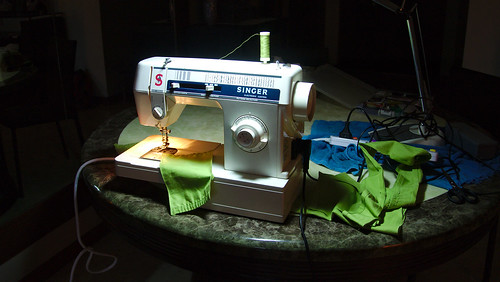
Originally we thought that we make the mattress from foam, covered with cloth. But that led to stability and mounting issues, so we decided to print it in 3D and cover it.
The mattress had to be split into six pieces for printing.
The mattress piece adds quite some weight to the finished model. Should we build it again we would probably add holes and use less in-fill to get it lighter.
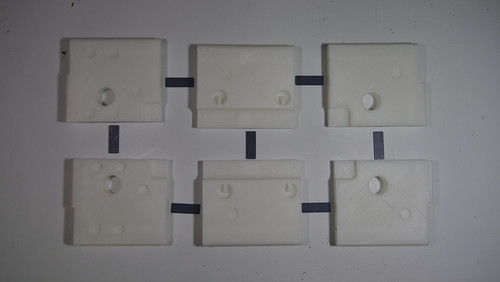
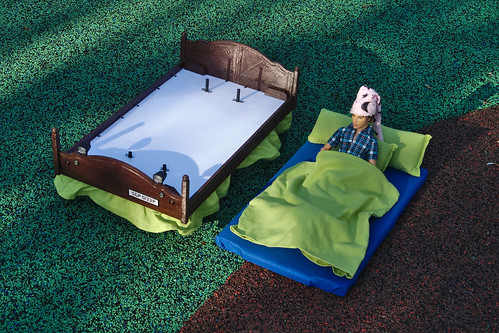
With all the cut-outs and mounting support designed into the mattress shape, the fit was perfect. We had decided to use magnets to secure the mattress to the bed frame, as well as the pillows and blanket to the mattress.

The figure is strapped down with an elastic hair band. With only one band it is very secure, and it is easy to remove for transport.
Now all the cloth needed to be installed. We started with the skirt that hides the chassis.
The skirt was made from a 6.5 cm wide strip of fabric, measuring a whopping 2 m in length. Every 3 cm a fold was hand-sewed to create a wavy curtain effect.
Holes were punched into the skirt; pilot-drill holes were placed at the correct locations, and 2 mm self tapping screws with washers hold the skirt in place in regular intervals.
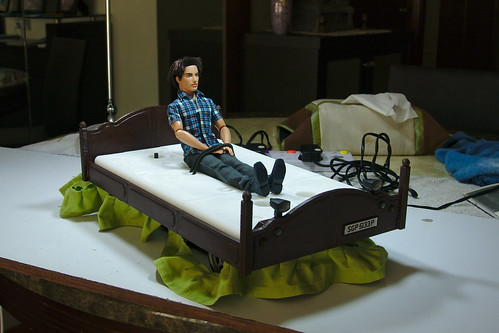
The finished skirt looks great and conceals the chassis well, without impacting function or skidding on the ground.
A pillow cover was sacrificed for the mattress. We had put a groove in place on the underside of the mattress where the cloth could be fastened to the support structure.
To secure the cloth we used short strips of filaments which are springy and clamp the cloth nicely, yet allow for easy removal if needed.
The mattress fits well. Time to assemble everything!
Here is the finished mobile bed:
The whole project took us about one month from start to finish, including 3D design. The total print time was approximately 33 hours, out of which 16 hours was for the mattress parts alone.
This time does not include test pieces and failed prints (mostly due to our inexperience and choosing wrong settings).
Sure, one could easily make such a simple structure from scratch using wood or other materials, but that was not the point. It was a learning experience. And most of all: tremendous fun!
In case you want to build your own, all CAD files are available on Thingiverse for download.
Go and make something!
No comments:
Post a Comment